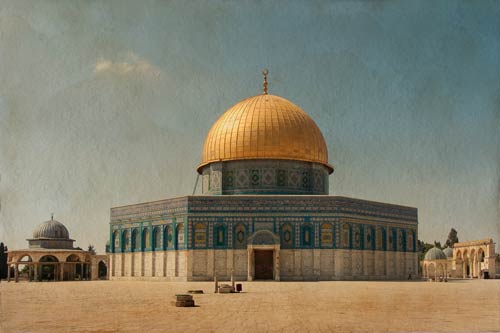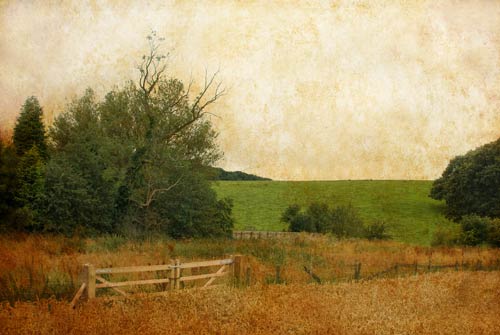
The technique of making an antique effect in Photoshop is to start with the image you want to change and lay another image over it. Then blend the two into one finished image using the Blending Modes in Photoshop.
The image you are going to overlay – the texture image – will determine what the final image looks like.
The difference between making a grunge effect and an antique effect is in the texture image you choose and the way you use the unsharp mask. I am going to look at creating an antique effect.
Obtaining The Texture Image
You can find full-resolution images, ready to download, dotted about the web. My advice is to make your own. Once you have made a couple you will get to know what works best – and they will be your own creations.
If you use one of the techniques I describe, then they are also an opportunity to get your hands dirty, which is something that is lacking when working in Photoshop.
One way to obtain a texture image is to go out and photograph one.
Unless you are specifically looking for a grunge effect, don’t shoot anything that is too gritty looking. An old stone wall may have an interesting pattern but the gritty look will dominate your final image, and you don’t want that if you want a more subtle antique effect.
Of course if you are making a grunge image, then the grittier the better.
Also, don’t make a texture image that is dark or has a lot of black in it. The reason for this is that the blending mode you will use most is the Multiply mode. This mode multiplies the base color by the blend color to make a darker color. The effect of multiplying any color with black is to produce black.
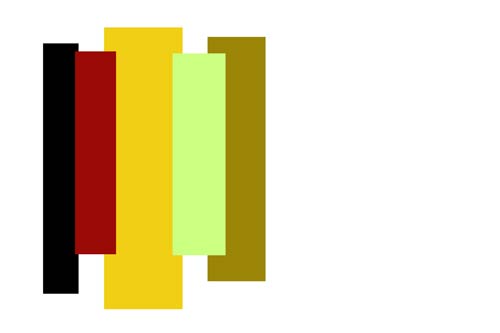
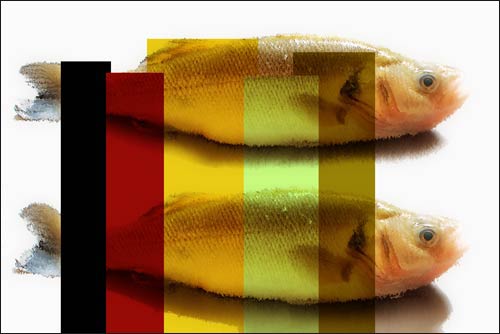
I made this test texture image from solid blocks of color. Notice how the solid black area used with the Multiply blending mode produces a solid black in the final image. In other words it obliterates the original image underneath, which is almost certainly not what you want.
For an antique look, yellows and sepias are the colors with which you are likely to have most success. But try others.
I have found that it is best to avoid patterns. Bricks may make an attractive pattern but the pattern will dominate the final image. So choose something that is abstract, with gradual color changes.
Tea and Coffee
Which brings me to the technique I use to make texture images, which is to make them with a piece of heavy art paper and some color. Tea, coffee, drawing ink, and water-based paints are all suitable colorants.
Paper
Thick paper – the kind that is used for watercolor painting – is a good choice. Your paper is going to get wet, and thicker paper doesn’t cockle so easily. You do not want the paper to cockle or wrinkle because if it does then the raised areas will produce shadows when you scan the paper or photograph it.
I have had success by laying paper on a worktop and pouring a strong mix of instant coffee onto it. There is a temptation to stick your fingers in the mix and swirl it about. 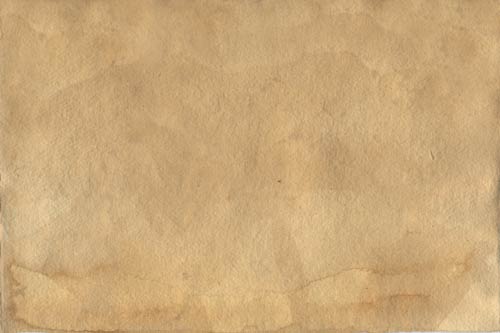 My advice is to avoid pouring all the liquid in one spot and then leave the sheet to dry on its own, without touching it. It will dry forming a natural pattern, which is what you want.
This is one of the textures I use.
You need to scan or photograph the texture image in order to get it into the computer.
A third method is to paint on a blank sheet directly in Photoshop with Photoshop brushes. I don’t like this method because the brush effects are too predictable and it takes a lot of time to try to achieve the effect that is so simply achieved by letting nature create the texture image.
The Technique
It is very simple. Open your original image. Open the texture image. Copy the texture image and paste it over the original. The default blend mode in the Layers palette is ‘Normal’. Change that to Multiply. You’re done.
You may want to lessen the opacity of the top layer in order to reduce the antique effect or because the image is too dark. My experience is that if the original texture image is light in color, then you won’t need to reduce the layer opacity and the image will look just fine without it.
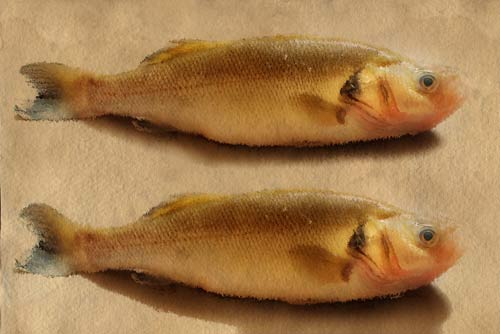
Of course you can add a layer mask to the texture image and selectively cut through the texture image to reveal the original below. That is what I did with the two fish. I set the opacity of the layer brush to around 40% so as not to cut back all the way to the base image.
Sharpening
When you sharpen an image normally, you probably keep the radius low, probably less than one pixel. Well, experiment a bit. Put the radius up to say 50 pixels and set the amount to somewhere around 80. See how unsharp masking (which increases the local contrast between light and dark adjacent areas) alters the image because of the way the Multiply mode combines the colors of the two layers.
This final photo of the Dome Of The Rock in Jerusalem is in our ecard catalogue and the others will be included in our catalogue shortly.
This article is one of a series of Photoshop techniques here on the Quillcards Blog. For another Photoshop technique article showing how to remove a messy background from a photograph, take a look at Darkening Down Around A Soft Outline.
